Tag: home decor

  • Easy to Assemble Faux Orchid Arrangement

    Easy to Assemble Faux Orchid Arrangement

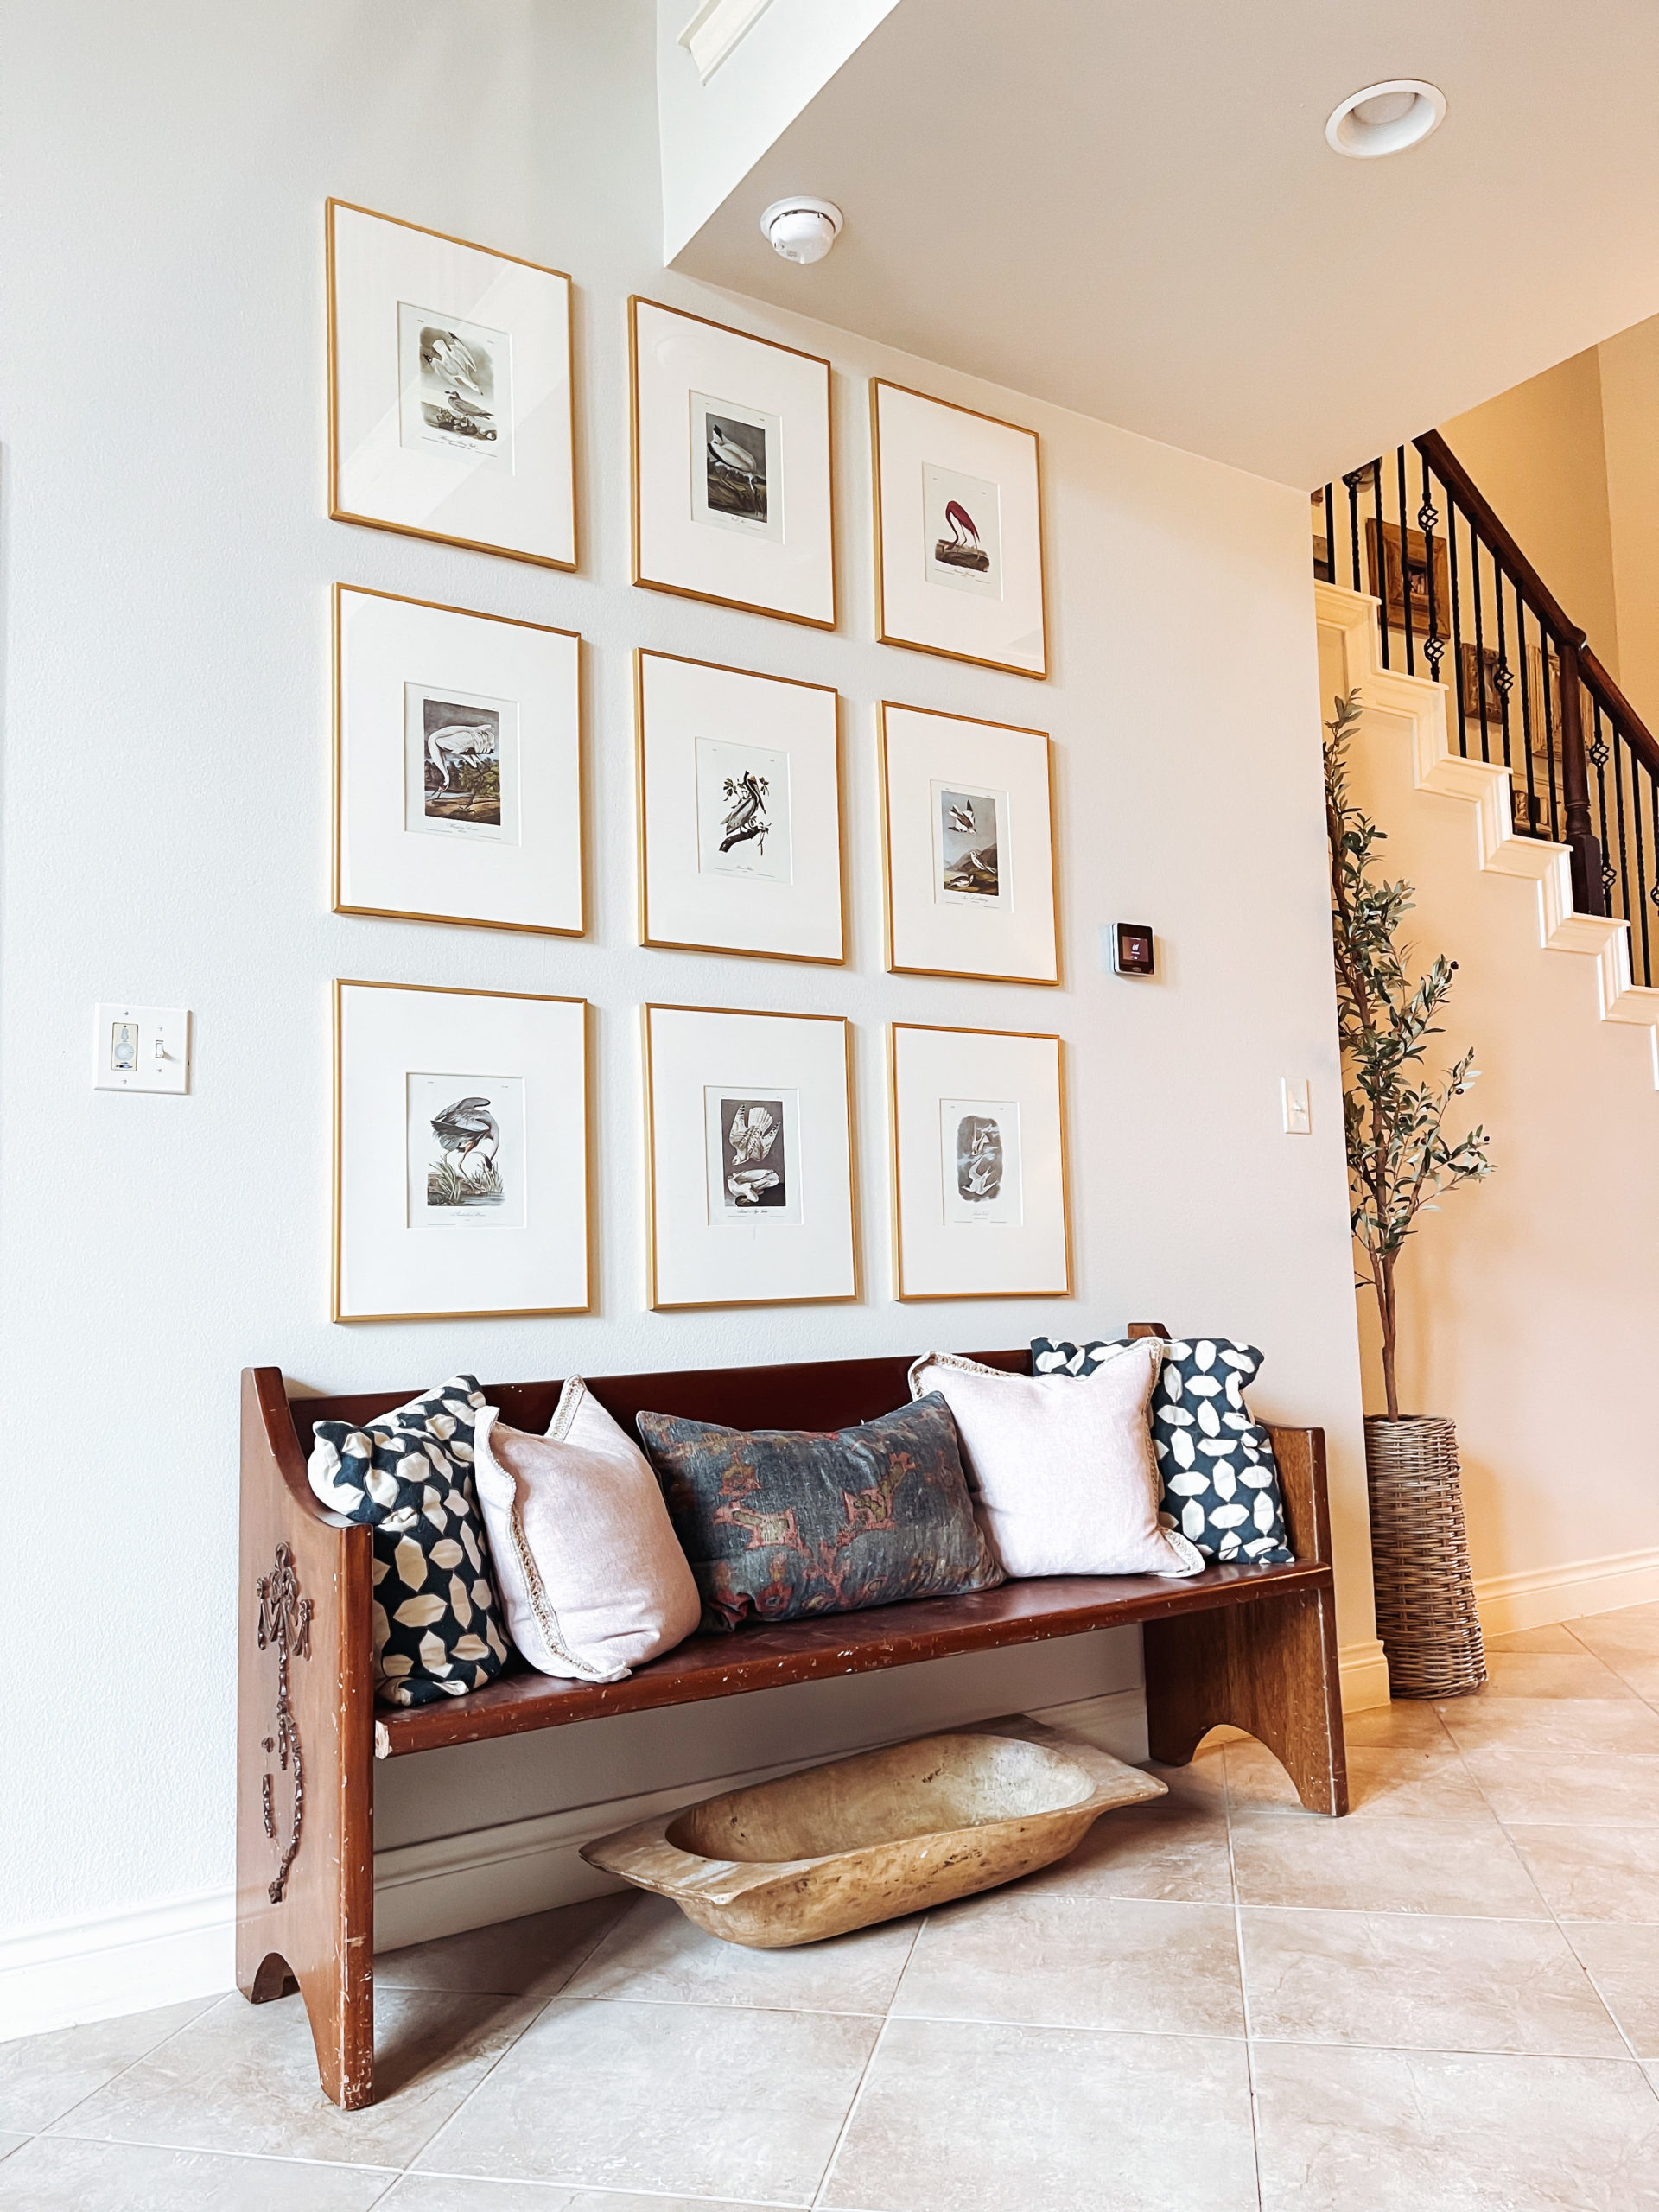
    When it comes to home decor, I love to deconstruct trends and figure out how to make them myself. It’s something my mom taught me how to do growing up.

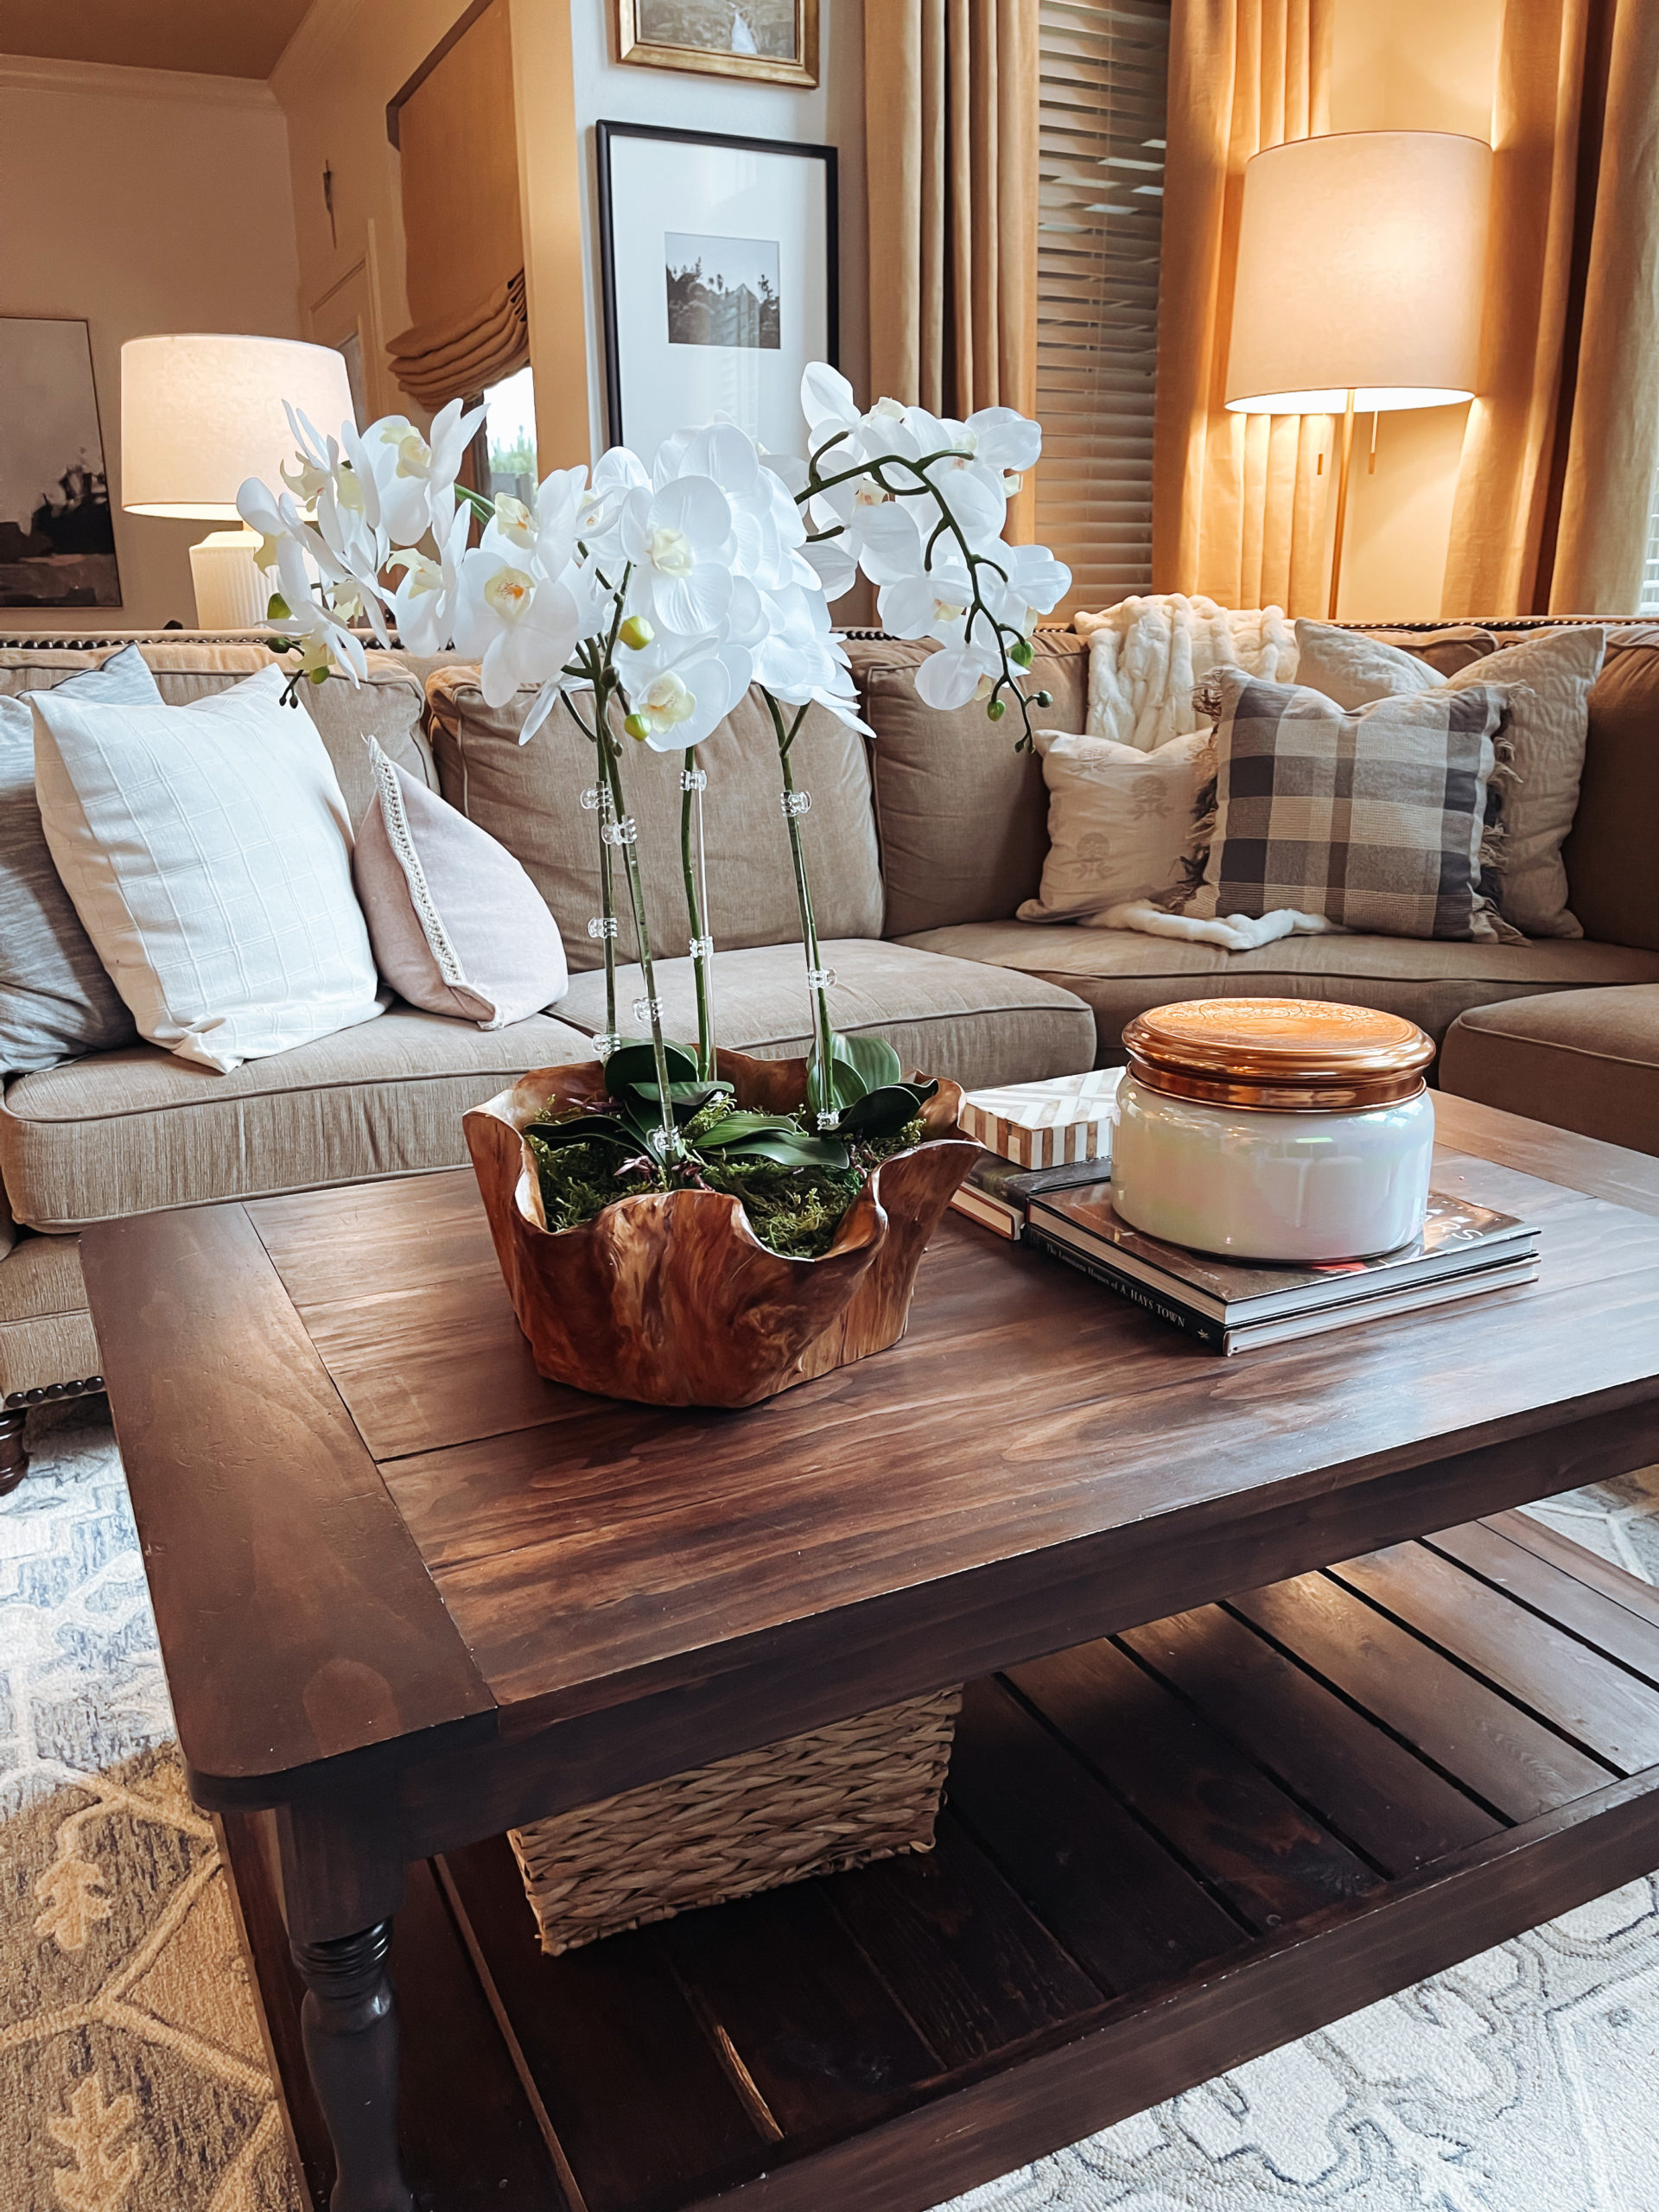
    When I spotted this bowl in the kitchen aisle at Home Goods, I knew immediately that I wanted to make an orchid arrangement. A friend had a similar arrangement and I always admired it! Secondly, I wanted to try my hand at using realistic florals made out of latex. How real do they look, well Josh had to ask twice (and he helped me cut the orchid stems).

    With the bowl in hand and an Amazon order (linked here) on the way, I headed to Hobby Lobby for the rest of the supplies! I picked up some styrofoam circles and a bag of moss and then we were ready to go!

    First, you are going to want to cut down your styrofoam circle (if needed). Since the bowl is an organic shape, I cut and filled in the spaces and secured the styrofoam together with low temp hot glue. I was careful not to glue any styrofoam to the bowl as I wanted it to be sturdy, but removable in case I want to use the bowl for something else in the future.

    Next, you are going to want to cut your orchids to size (we trimmed 3″-4″ off the bottoms). Stick in the styrofoam and secure with hot glue. I then took the acrylic dowels and hot glued them to the hot-glue base and secured to the stem with clear clips. Everything about this process is “fake it till ya make it.” Then, you are going to want to place the orchid leaves near the stems. I used 3, depite having 4 flowers, since the base looked over crowded with all of them in there. Now, you are going to want to cover the entire base with the decorative moss. Make sure to glue it down to the styrofoam to keep it anchored to the styrofoam.

    I just love how the arrangement looks in this space! It really gives a luxe feel and it didn’t cost me hundreds to make!

    Loving the fresh update to our living room.

  • Curate an expensive looking gallery wall on the cheap!

    Curate an expensive looking gallery wall on the cheap!

    Many years ago, I purchased an old Audubon print from Etsy. When I took it in to have it framed, the associate made a comment on how expensive these prints were and how they were beautiful investments. Fast forward 10 years and they are digitally available and the most popular prints are available through Pottery Barn.

    When we repainted our home in 2020, I knew that I wanted an on trend and symetrical gallery wall. One that would make a statement on this large wall without investing a ton of money. Another challenge was finding artwork for the frames, I wanted something beautiful and subtle in a variety of colors. Something that would be timeless and coordinate with my ever evolving throw pillow rotation.

    I wanted artwork in this space since our family photo wall is right behind this one.

    I chose these 16×20 frames that are $20 and invested in a massive book of Audubon prints. Best budget artwork/decorating hack! I found mine for under $20 and have it linked below. I selected my favorites from the book and created the gallery wall above. The hardest part of the process was making sure the pictures were hung straight and level.

    I loved this wall so much, that I created another one in our guest room with animal prints from the same book. I still had hundreds of prints left over, so I gave the book to a friend for her to create her gallery wall!

    I love how the framed book prints elevate my home. I am always getting compliments on both spaces and it is literally as simple as taking an old book of prints, placing them in a simple matted frame, and giving your wall decor an elevated makeover that you curated yourself!